Forum Replies Created
-
AuthorPosts
-
So I was thinking this.

I have a series of Phoenix USC base images here on indieDB . All posted in a series under the “Base in space” title. It shows how far along Alien Phoenix is in development. Rock on.
Still hard at work. You can get current developments here as well.

Tweets by PhoenixUSC
https://www.facebook.com/PhoenixUniverseOfSpaceCombat/Attachments:
I plan to get back ( after some time off ) to some Pyro stuff …
Good news.
So.. ya..
I tried above and it worked well but not what I wanted and not really the right way. I ended up looking at the textures that Mark used for simple light and noticed that none of the bump-map textures used an alpha channel (RGB). So I removed the alpha channel from both the normal and specular maps and made the former alpha’ed areas black (RGB(0,0,0)). This works pretty well and appears to remove nearly all of the artifacting. I left the diffuse texture with an alpha channel. Edging the alpha’ed areas of the diffuse image in black also seems to help. This might have been what Ethernaut was trying to get across to me, either way it seems to solve the specular issue without resorting to changing a shader.
My only real issue left is my issue with positioning and textureflags, which I will code out in example form. After messing with mojo’s shaders I am interested in doing more with shaders.
Hi,
I have been tackling the bumpmap artifacting issue I was encountering and ended up changing mojo’s ‘ light.glsl ‘ shader a little bit. I adjusted the normal from this:
normal.xy=normal.xy * 2.0 – 1.0;
To:
normal.xy=((normal.xy * 2.0 – 1.0)*0.5);
This really sweetened things up quite a bit and removed all of the heavy artifacting. Here is a copy of the modified mojo light.glsl shader. Off to work on example code.
Monkey12345678910111213141516171819202122232425262728293031323334353637383940414243444546474849505152535455565758596061626364656667686970717273747576777879808182838485868788899091//@renderpasses 4,5varying vec2 v_TexCoord0;varying vec2 v_LightPos;varying vec4 v_Color;varying vec2 v_GBufferCoords;varying vec2 v_FragPos;//@vertexattribute vec4 a_Position;attribute vec2 a_TexCoord0;attribute vec2 a_TexCoord1;attribute vec4 a_Color;uniform mat4 r_ModelViewMatrix;uniform mat4 r_ModelViewProjectionMatrix;uniform vec2 r_ViewportOrigin;uniform vec2 r_ViewportSize;uniform vec2 r_ViewportClip;uniform vec2 r_GBufferScale;uniform vec4 m_ImageColor;void main(){v_TexCoord0=a_TexCoord0;v_LightPos=a_TexCoord1;v_FragPos=a_Position.xy;v_Color=m_ImageColor * a_Color;gl_Position=r_ModelViewProjectionMatrix * a_Position;vec2 vpcoords=(gl_Position.xy * 0.5 + 0.5) * r_ViewportSize;v_GBufferCoords=(vpcoords + r_ViewportOrigin) * r_GBufferScale;}//@fragmentuniform sampler2D m_ImageTexture0; //image textureuniform float m_LightDepth;uniform sampler2D r_GBuffer0; //gbuffer diffuseuniform sampler2D r_GBuffer1; //gbuffer normalvoid main(){vec3 normal=texture2D( r_GBuffer1,v_GBufferCoords ).xyz;float gloss=normal.z;normal.xy=((normal.xy * 2.0 - 1.0)*0.5);normal.z=sqrt( 1.0-dot( normal.xy,normal.xy ) );//diffuse...//vec3 lvec=normalize( vec3( v_LightPos-v_FragPos,m_LightDepth ) );float ndotl=max( dot( normal,lvec ),0.0 );vec4 tcolor=texture2D( m_ImageTexture0,v_TexCoord0 ) * v_Color;vec4 diffuse=texture2D( r_GBuffer0,v_GBufferCoords ) * tcolor * ndotl;//specular...//vec3 hvec=normalize( lvec+vec3( 0.0,0.0,1.0 ) );float ndoth=max( dot( normal,hvec ),0.0 );vec4 specular=tcolor * pow( ndoth,128.0 ) * gloss;#if MX2_RENDERPASS==5float shadow=texture2D( r_GBuffer0,v_GBufferCoords ).a;diffuse*=shadow;specular*=shadow;#endif//tada!//gl_FragColor=vec4( diffuse.rgb+vec3( specular.a ),0.0 );}Just out of curiosity, can you try these?
I sure can. Will try them later today.
also noticed the specular map was not aligned with the other two
Hummmm.. That should not be the case, I will take a look at that as well.
I’ll be working on a code example as well later today to illustrate the positioning issue I have described above. I really do understand Marks point about jumping between integer pixel coordinates, but what I am experiencing is well beyond a one pixel jump. In fact if you look closely at the at the first part of the video the base floor (with the light on it left of ship) is moving as I would expect with Textureflags.None (base floor is a bumpmap image). You can also use that base floor as a reference on pixel size with the grate (black crosshatch line looking parts of the image) crosshatch lines which are about 2 pixels wide. Using that as a reference to pixel size it should be come clear how far the non-bumpmapped space station images images are actually moving around. More then a pixel jump (to my eyes) and only the non-bumpmapped images act this way with TextureFlags.None. Even so all of the images use the same texture flag and should move in the same manor.
I should have something late tonight. and thanks for the advice on image/texture maps, I’ll let you know how it turns out.
@Mark Sibly
Hi, ya we did kind of go over this but what I am experiencing seems to be beyond that discussion. The asteroids and the space stations ‘images’ all use the same texture flag (in video above) so I am confused why if the asteroid (bumpmap images) and the space station images (with a common position system) all use the same filtering why do the non-bumpmapped images (space station) move in an irregular fashion (way more then a pixel) but the bump mapped images do not. I’ll just have to break this out in code all though I was hoping for one of our lot to say “hey dude it’s this” and why I posted a video. I’m behind in my schedule so pressed for time.
I do not use a texture atlas or sprite sheet. Each image (sprite, image) is loaded individually.
I’ll put together am example that clearly outlines the issue. BTW, when I post a video or some such it is often in an effort to get some feedback and direction which often leads to a better code example and a better understanding of the issue involved.
Hi, as I indicated above I am using images with the same texture flags and using mojo layout and simply drawing images to canvas. I’m most concerned about the positioning issue when using TextureFlags.Filter as it seems that using that filter with non-bumpmapped ‘images’ (like the space stations seen in video) and bumpmapped ‘images’ does not work correctly. Why are the positions of the space stations adversely effected using TextureFlags.Filter when all other texture filters seem to work (image position wise)?
As far as the artifacting of ‘images’ (simple load image and then draw to canvas) this may be an issue with a normal map or specular map, but I have tried several combinations and all will artifact when using TextureFlags.Filter and TextureFlags.FilterMipmap. I have included a current copy of a bump map image below.
Essentially I am just loading bump mapped and non-bump mapped images with the same texture flags and drawing them to canvas. The only really sophisticated thing am am doing is multiple passes with lighting and shadows, for example :
Monkey1234567891011121314151617BeginLighting()Calculate image position.DrawImageAddLightEndLighting()BeginLighting()Calculate image position.DrawImageAddLightEndLighting()BeginLighting()Calculate image position.DrawImageAddLightEndLighting()So no real tricks here and pretty much straight forward. Have a look at the bump map images below and let me know what you think.
.
Edit TextureFlags.FilterMipmap also has an issue with lights wiggling there position (similar to the space stations). I may do a video for that as well. If I have to I will work up a code example but I’m hoping not to have to as that would take some time. Hopefully Mark might have insight.
Attachments:
I’ve posted a ‘wide’ screen shot of my desktop showing some of the error reporting work I have been doing with Alien Phoenix. You can just make out an error being reported in a console in an app (left side of screen) using Alien Phoenix and in the TED2GO IDE (center). Even though an error message indicates an image is missing the framework will in many cases report the error and continue to run. This aspect should be useful in game development both in error reporting and robust continued app operation despite common errors like a missing image.
Attachments:
Very nice! . . . and in Emscripten to boot. Extra bonus points.
Looks good. No Linux version.

I have posted (Zip file) code and resources to my monkey splash screen demo here.
For completeness below is the light image and code for the splash screen. You will need resources above as well.
Monkey123456789101112131415161718192021222324252627282930313233343536373839404142434445464748495051525354555657585960616263646566676869707172737475767778798081828384858687'Monkey 2 Splash Screen'Author: Richard R Betson'License: Public DomainNamespace monkey2splash#Import "assets/"#Import "<std>"#Import "<mojo>"Using std..Using mojo..Class MyWindow Extends WindowField _monkey2logo:ImageField _monkey2title:ImageField _light:ImageField mlp:FloatField _device_width:FloatField _device_height:FloatMethod New()Super.New( "Monkey 2 Splash Screen",1280,720, WindowFlags.Resizable | WindowFlags.Maximized )ClearColor=Color.Black'************ Notice **********'The specular and normal maps are loaded in reverse order.'This allows for the lighting effect I was after.'---------------------------------------------------------Self._monkey2logo=Image.LoadBump( "asset::monkey2logo.png","asset::monkey2logo_S.png","asset::monkey2logo_N.png", 1.5,False,Null,TextureFlags.FilterMipmap)Self._monkey2title=Image.LoadBump( "asset::monkey2title.png","asset::monkey2title_S.png","asset::monkey2title_N.png" ,100.5,False,Null,TextureFlags.FilterMipmap)Self._monkey2title.Handle=New Vec2f(.5,.5)Self._light=Image.LoadLight( "asset::light.png",Null,TextureFlags.Filter)Self._light.Handle=New Vec2f(.5,.5)EndMethod OnRender( canvas:Canvas ) OverrideSelf._device_height=canvas.Viewport.BottomRight.YSelf._device_width=canvas.Viewport.BottomRight.XSelf.mlp=Self.mlp+2.5If Self.mlp>600Self.mlp=600EndifIf Keyboard.KeyHit(Key.Space) Then mlp=0canvas.AmbientLight=New Color(.6,.6,.6)canvas.BeginLighting()canvas.DrawImage(Self._monkey2logo,(Self._device_width*.5)-256,(Self._device_height*.5)-256)canvas.DrawImage(Self._monkey2title,(Self._device_width*.5),(Self._device_height*.5)+ 300)Self._light.Scale=New Vec2f( 15+(mlp*.1) ,15+(mlp*.1))Self._light.Color=New Color(.5,.5,.5)canvas.AddLight( Self._light , ((Self._device_width*.5)-880) + mlp, ((Self._device_height*.5)+306) + mlp)', 15+(mlp*.1) ,15+(mlp*.1))canvas.EndLighting()canvas.DrawText("Hit spacebar to play splash.",10,10)App.RequestRender()EndEndFunction Main()New AppInstanceNew MyWindowApp.Run()EndAttachments:
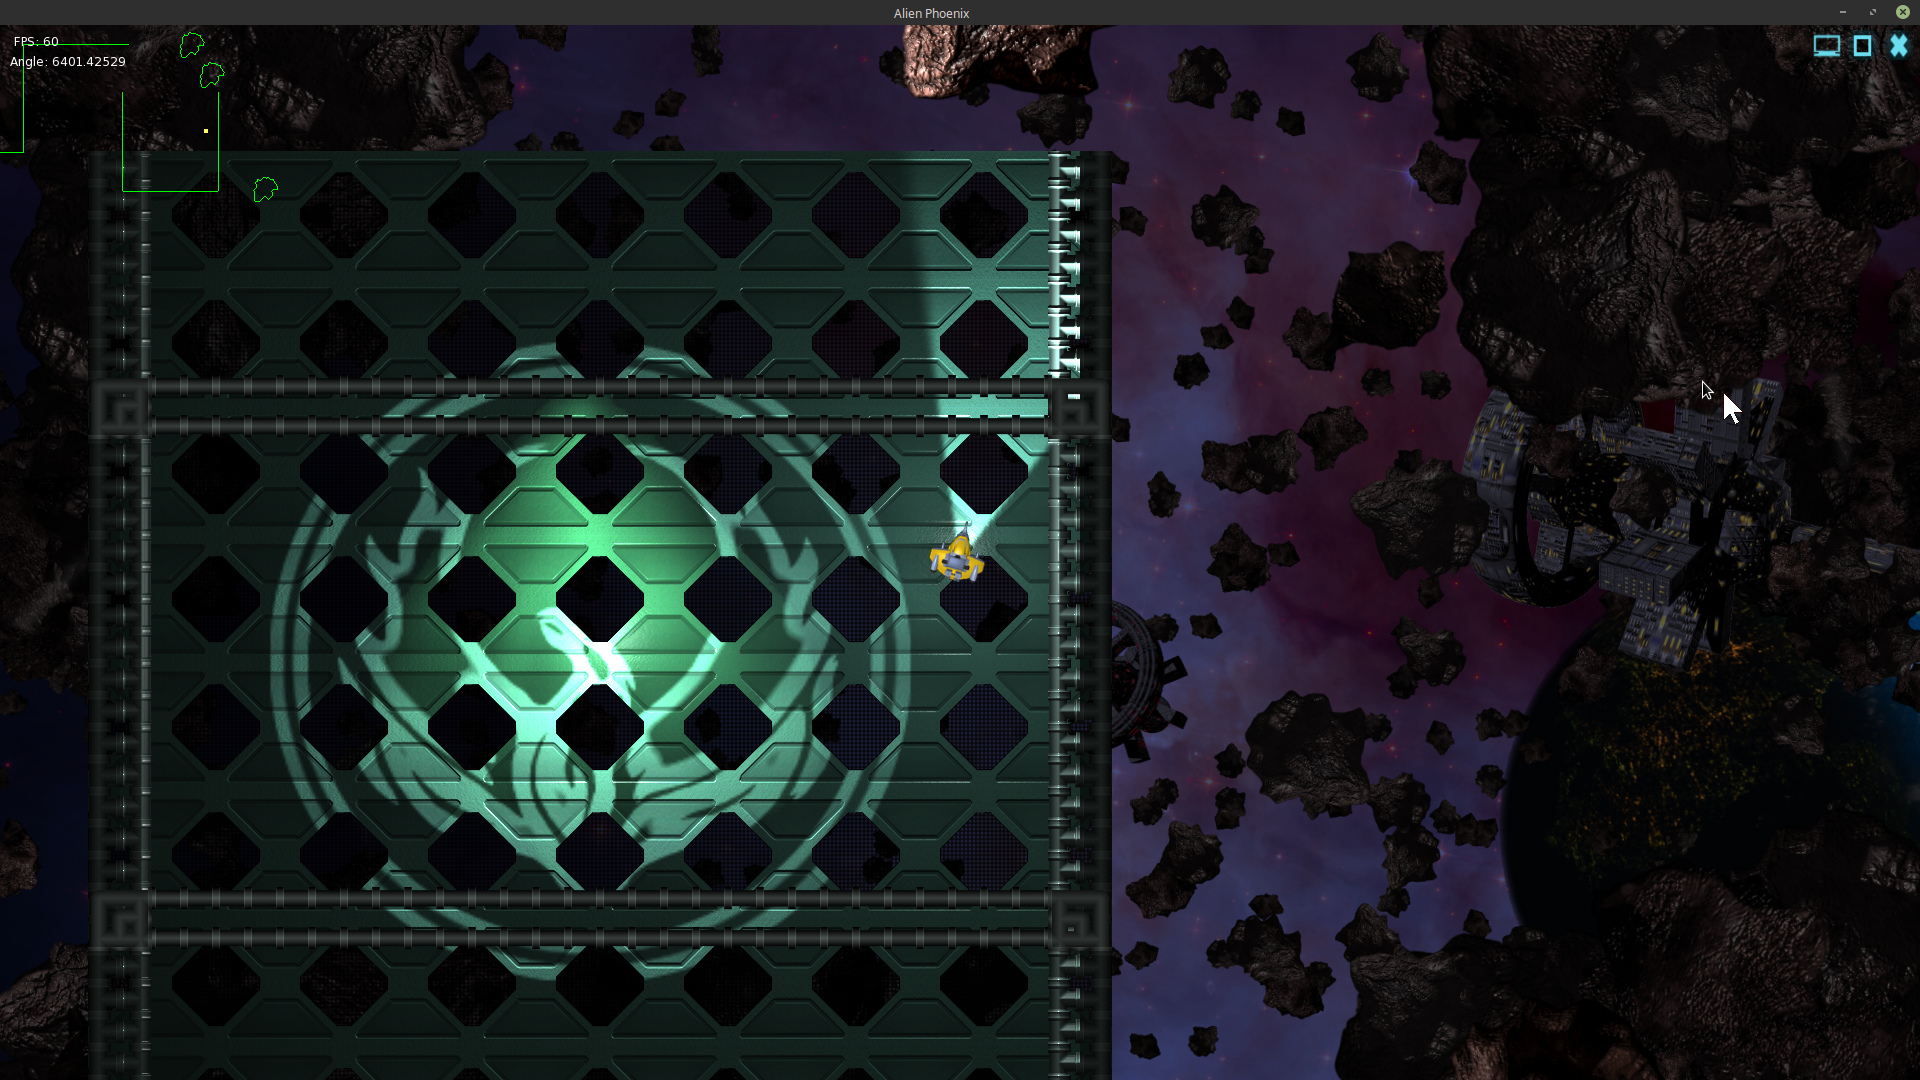
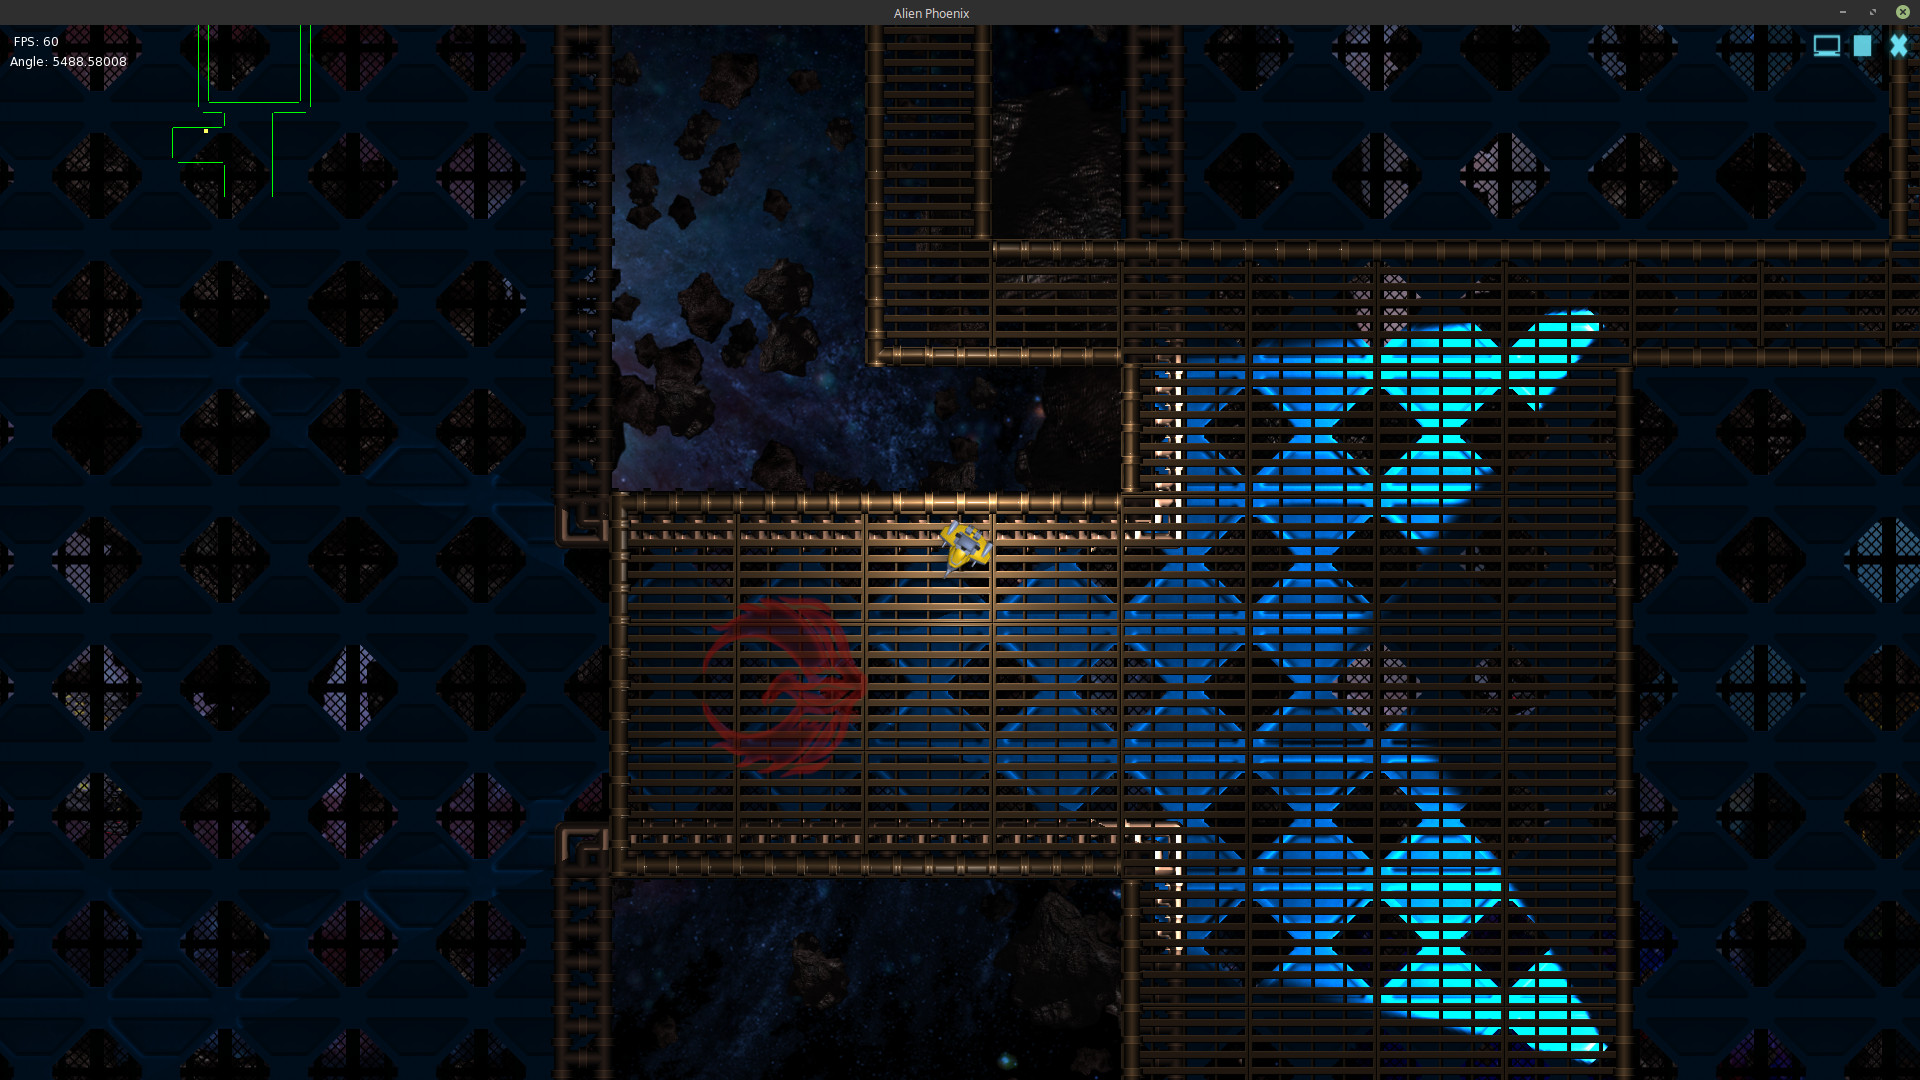
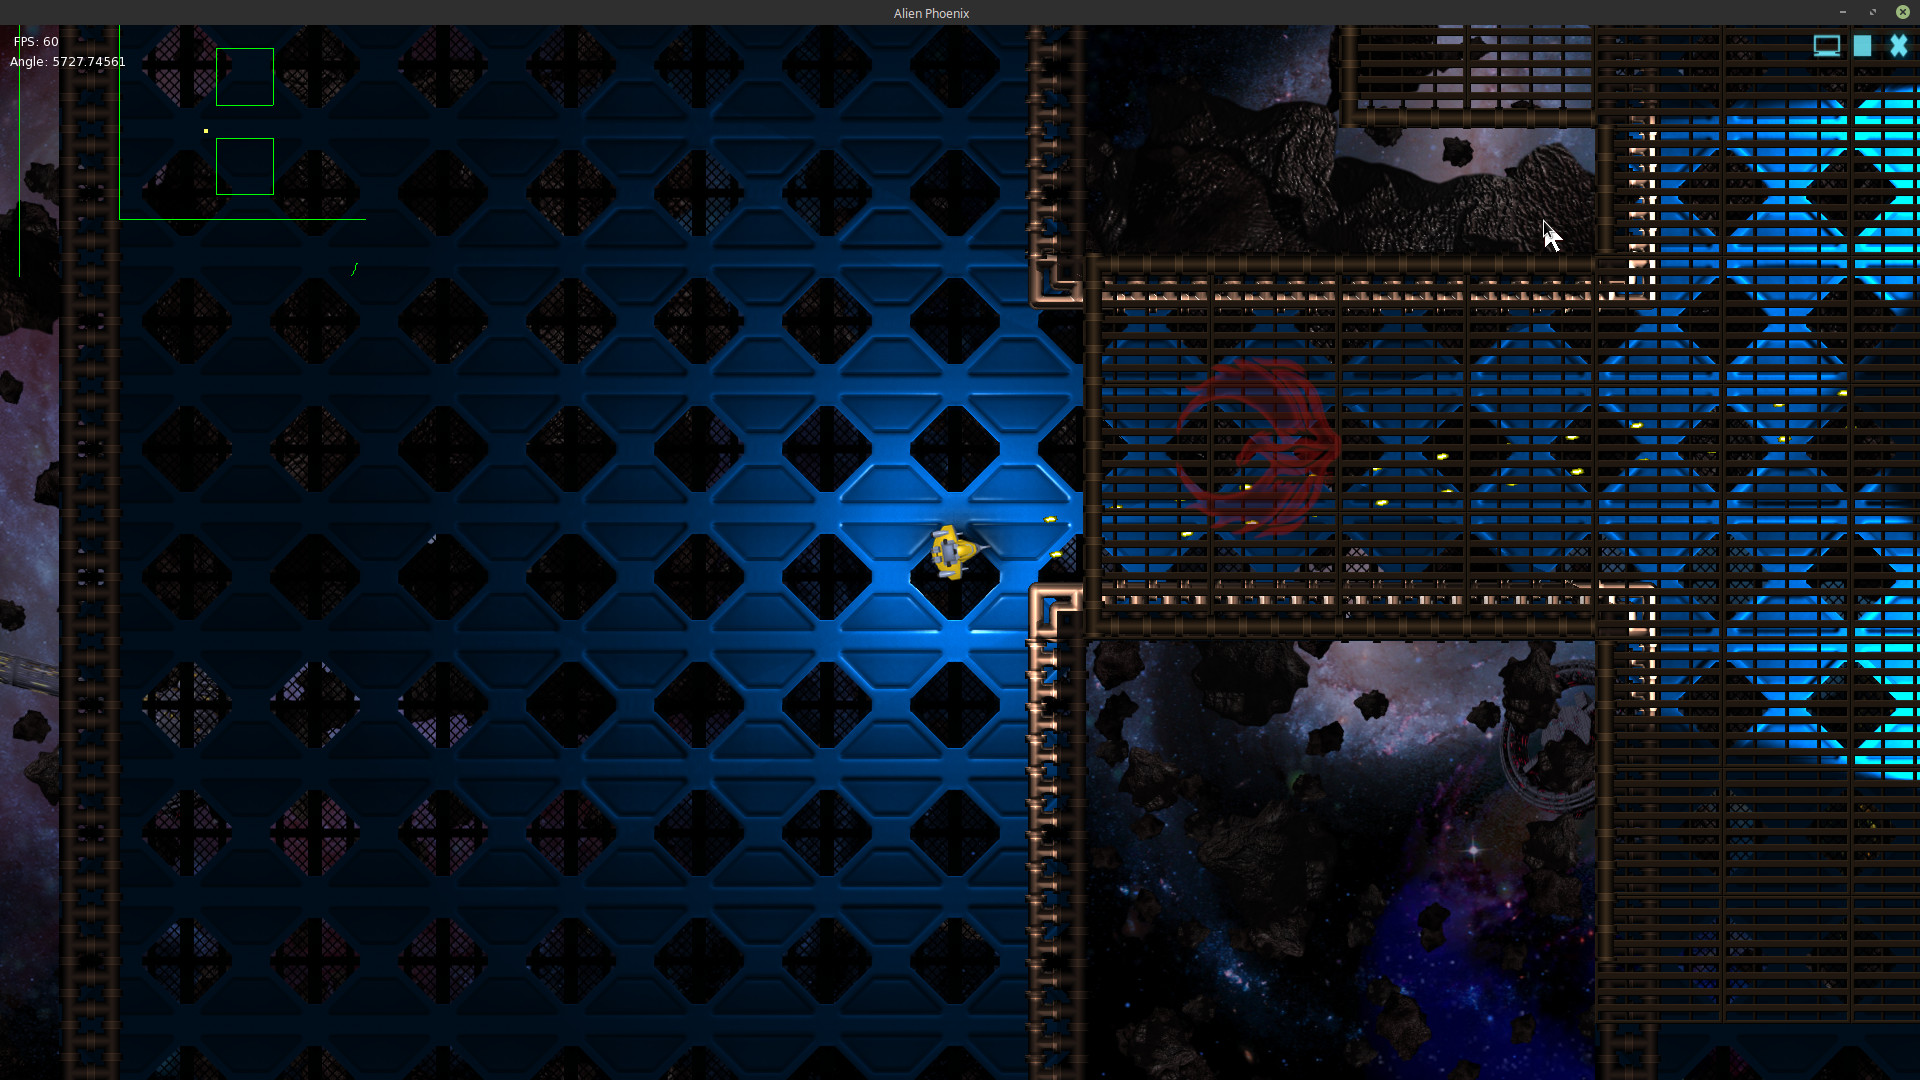
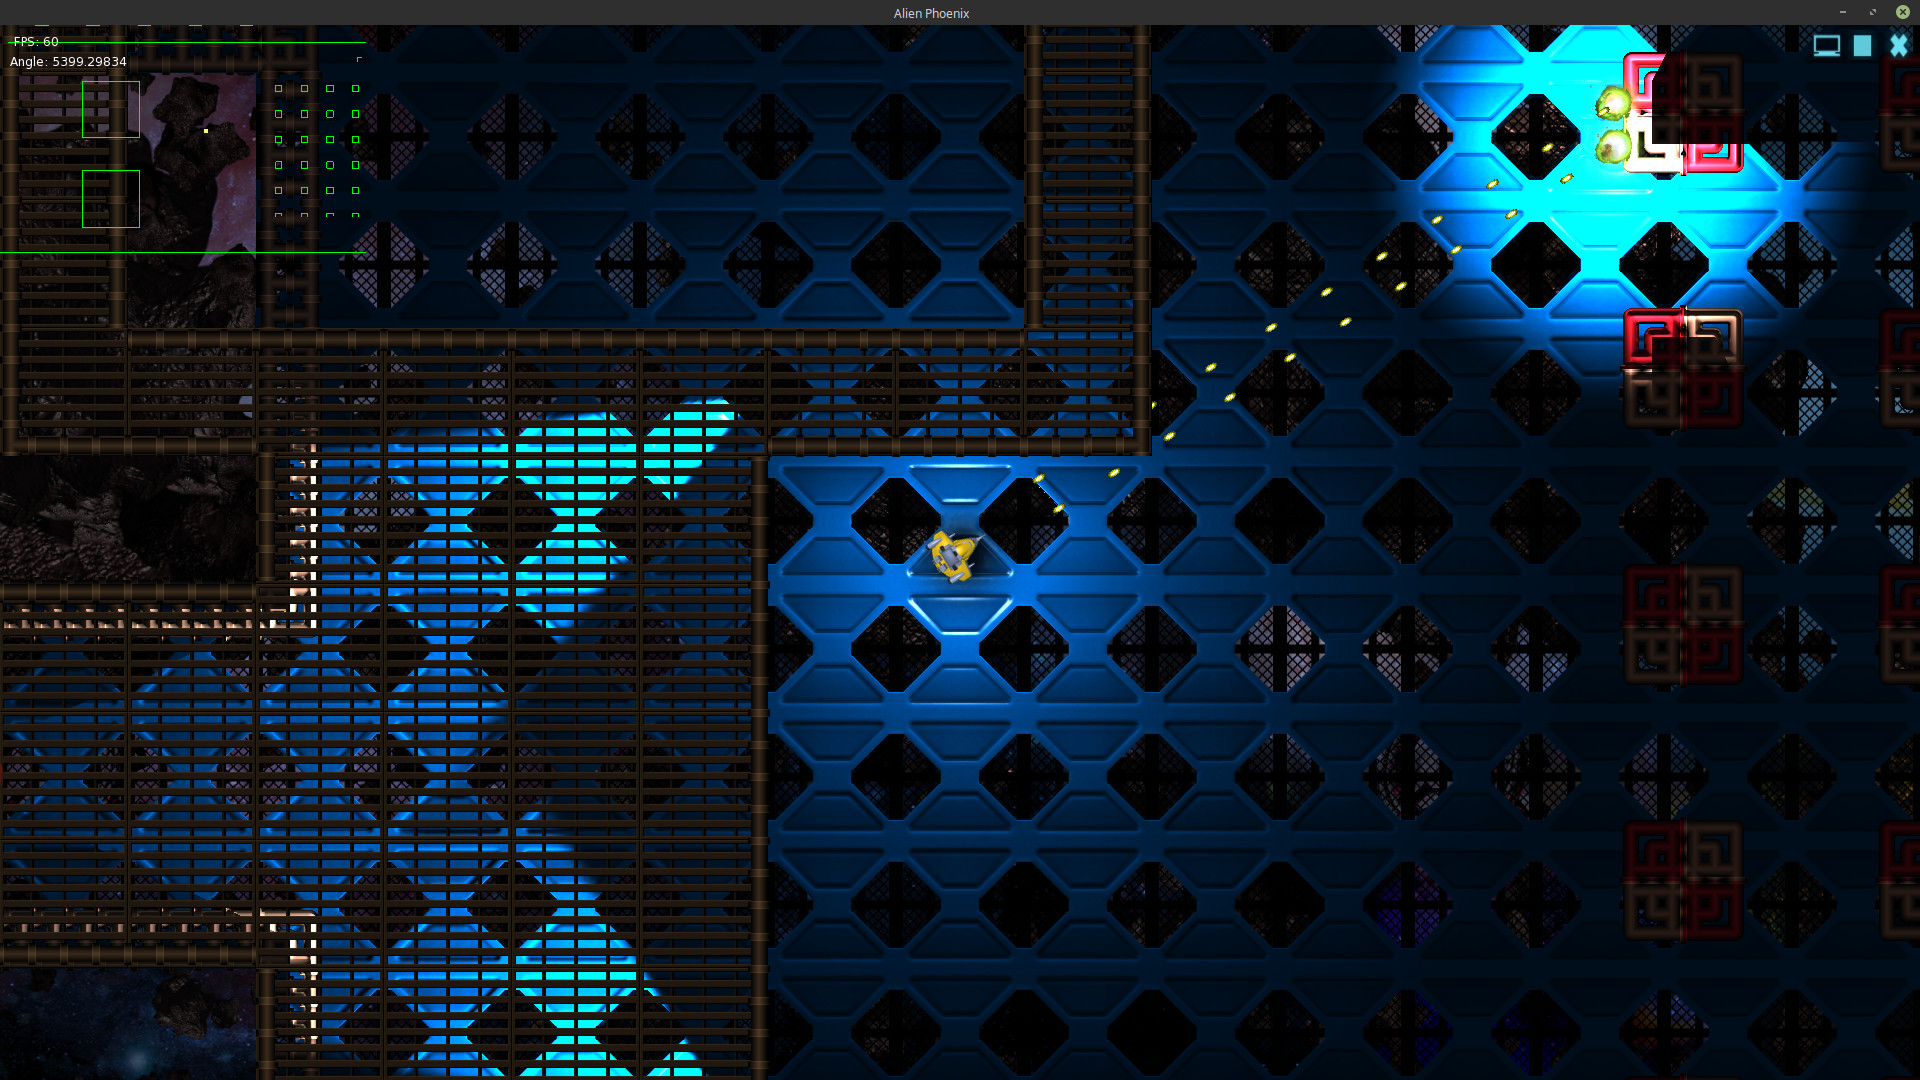
These images show Alien Phoenix’s mapping system in action. The map system allows you to essentially fill a 2D plane space with part objects (walls, floors, etc). This allows multiple levels or layers of simultaneous game play on the same map.
Attachments:
-
AuthorPosts