Forum Replies Created
-
AuthorPosts
-
I believe it already does .b3d files, via the assimp module (“<mojo3d-loaders>”)? Haven’t tried it, here’s the Assimp format list: http://assimp.sourceforge.net/main_features_formats.html
Agree on the flat shader (“unlit” material). Can be simulated with the proper environment/lights setup, but you don’t get the speed gain from such type of shader.
Would love an orthographic camera – currently simulating it with a 0.001 FOV camera parented to a pivot at the origin (for orientation). Works pretty well, heh heh… but a real one would be nicer.
Cheers.
Hmmm, just got the latest Emscripten on MacOS, cleaned all old build folders and started rebuilding.
It goes all well until it tries to build Mojo, then I get “fatal error: ‘CoreVideo/CoreVideo.h’ file not found”
Same project works fine in Desktop.
It’s working fine now, as far as I can tell.
MacOS comes with Python. Just following those command lines should work.
The key to getting it working on MacOS, if I remember correctly, is to edit the appropriate paths in the “env_macos.txt” file in the bin folder inside Monkey2. Then you rebuild all modules (in debug and release) for Emscripten, usually from within Ted2Go since you can just check the appropriate checkboxes under “Update/Rebuild modules”.
Looking at the tile texture, I think the reason some people are seeing the border between tiles is because they’re “tightly packed” – each tile is 16×16, without borders. As they get moved around, rounding errors cause the texture edges to incorrectly pick up the neighbor tile’s color.
I made a little Atlas class a while ago that creates a new power of two texture and pastes each original tile into the new texture with 2 pixels between each tile, then copies the color of the edge pixels into the gaps. Seems to work well to prevent those interpolation artifacts. You can try/modify it if you want:
https://github.com/DoctorWhoof/spriteTools/blob/master/source/atlas.monkey2Cheers.
Fun! Love the cover artwork.
Didn’t get very far, will try again after work.Very cool!
My feedback:
- Movement speed felt good to me, but I didn’t like the slowdown that seems to happen when monsters appear.
- Once I got to dungeon 7 and my second Centaur (with 4 health) I didn’t have any option but to die. It would be nice to have more strategic options early on, like potions, spells or even stealth, anything that lets you be creative and try things other than walk and fight. There should always be a way to survive, as long as the player is good enough, in my opinion.
- The general atmosphere felt very cheery (graphics and music). A little more sense of mystery and adventure would be welcome.
Looking forward to trying future versions.
Hezkore, would this work for you? Needs Import/Using mojo3d. The “length” parameter is how deep the extrusion is. It extrudes in both directions (positive/negative Z axis), but this can be easily changed.
(Untested outside the project I made this for).
Monkey123456789101112131415161718192021222324252627282930313233343536373839404142434445464748Function LineExtrude:Mesh( points:Vertex2f[], length:Float, closedCurve:Bool = False, flip:Bool = False )Local front:= New Stack<Vertex3f>Local back:= New Stack<Vertex3f>Local indices := New Stack<UInt>Local vertices := New Stack<Vertex3f>Local totalVerts := points.LengthLocal sides:= totalVertsIf Not closedCurve sides -= 1If totalVerts = 2 Then sides = 1 'Prevents two overlapping planes if line only has two verticesLocal n := 0.0For Local v := Eachin pointsLocal u := n/ Float(sides)front.Push( New Vertex3f(v.position.X, v.position.Y, -length/2, u, 0.0) )back.Push( New Vertex3f(v.position.X, v.position.Y, +length/2, u, 1.0) )n += 1.0NextFor Local i0 := 0 Until sidesLocal i1 := i0 + 1If i1 > totalVerts - 1 Then i1 = 0indices.Push( UInt(i0) )indices.Push( UInt(i0 + totalVerts) )indices.Push( UInt(i1) )indices.Push( UInt(i0 + totalVerts) )indices.Push( UInt(i1 + totalVerts) )indices.Push( UInt(i1) )NextFor Local v := Eachin frontvertices.Push( v )NextFor Local v := Eachin backvertices.Push( v )NextLocal mesh := New Mesh( vertices.ToArray(), indices.ToArray() )mesh.UpdateTangents()mesh.UpdateNormals()If flip Then mesh.FlipTriangles()mesh.Compact()Return meshEndI’m using it to generate 3d colliders for a “2.5D” game.
[edit] Just realized this doesn’t generate front and back caps, only the side walls. It would need a good mesh triangulation algorithm to do that well.
Although this could be done via code, it’s really not the best way in the long term…
A much better long term solution is adopting an existing animation software like Spine (http://esotericsoftware.com/spine-in-depth), which may be harder initially, but leaves you in a much, much better place eventually, since you’ll be able to bring any kind of transform based 2d animation later – including characters, logos & symbols, effects, etc.
There was a monkey-x importer, I wonder how much work it would be to port it to Monkey2.
Cheers.
I find that the best method currently is to simply use Ted2Go “Docs” tab.
You just type what you want in the Find field, and the latest Ted2Go version will display all matches available, then you just pick the one you want to inspect more closely.
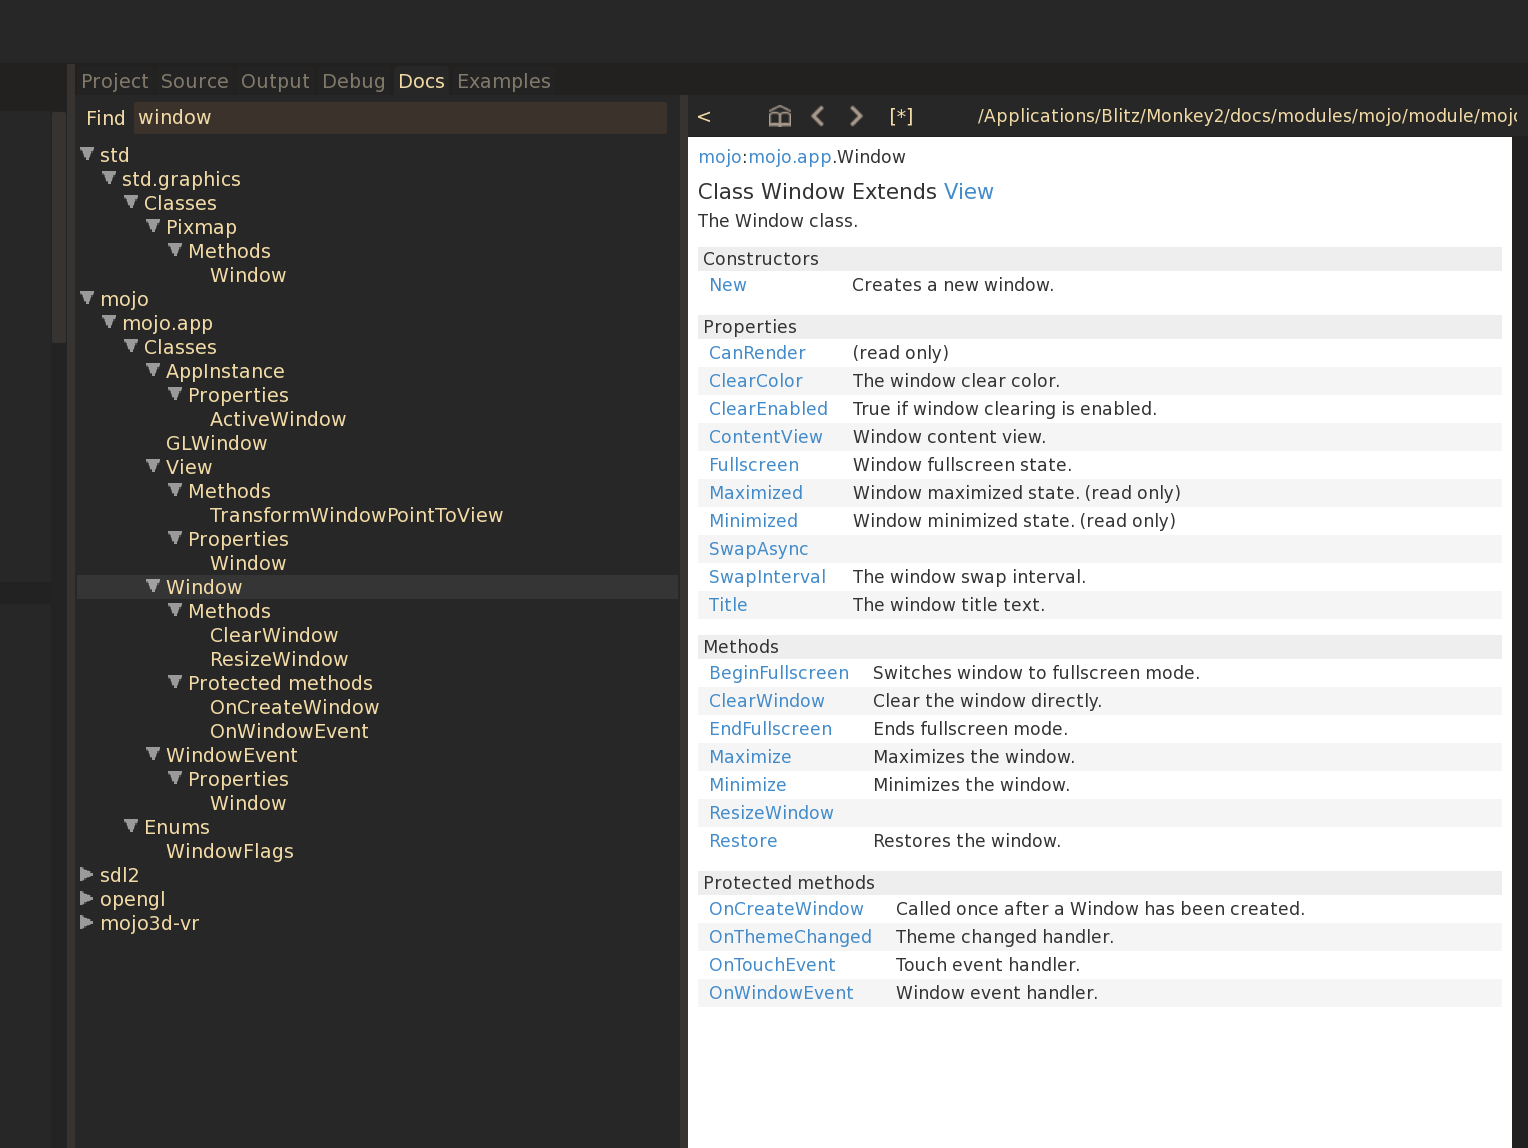
The only catch is that not everything is documented, so things like virtual methods for components, for instance, still don’t show in the help, probably because they’re still being developed as we speak.
Just compiled it with the latest dev branch and works brilliantly on MacOS!
Played a few of my old Impulse Tracker files without issues. CPU use is very low too, about 3% while playing minimized (so that graphic update doesn’t interfere) on my laptop.
This was originally posted a while ago, but it’s a really cool project, specially if you’re interested in “retro” games with an authentic feel. This should definitely be in the official modules.
Cheers!
Thanks for posting the source, it was really helpful!
Cheers.Ok fixed!
Instead of copying neighbor pixels, I copy the values from the other side of the tile (i.e. gap on the left edge of the tile gets the color values from the right edge).
On top of that, I also fill the pixels at the intersection of the gaps now, which something I didn’t do before because I’m lazy!

Updated here:
https://github.com/DoctorWhoof/spriteTools/blob/master/source/atlas.monkey2Argh, found a bug on my end! Will fix…
This is what I get when doing the tiling by hand in Photoshop:
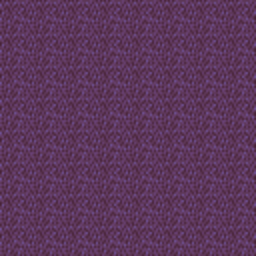
Seems pretty close to what the Atlas did!

For tilemap work, check out “Pixel Edit“. It’s super simple, but has some killer features, like painting directly on the tile while you see the result in a tile map, etc.
<edit> If you zoom in, there’s indeed an odd edge interpolation going on… will investigate!
-
AuthorPosts
