Forum Replies Created
-
AuthorPosts
-
I often compile and test stuff via command line and whenever I use timers this error appears. While the main window has been closed some part of the program is still running so that I have to close it manually via Ctrl+C. I am not sure whether this bug only appears on Linux.
For shadows on your image you need a normal map. When your image is named “bg.png” the name of the normal map must be “bg_NORMALS.png” (and “bg_SPECULAR.png” for the specular map).
For objects to have longer shadows there is an example called “renderdemo” which uses shadow casters. To be honest I never used them and implemented my own shaders instead. This approach is a bit more complicated but gives you much more control at the same time.
Okay, it seems like your code works in Cerberus-X when you replace “monkey://data/bg.png” by “cerberus://data/bg.png”.
Well, it was your code. I just did some changes so that I can read it better myself

I think changing the path should be enough to make it work.
sure, here it is:
Monkey123456789101112131415161718192021222324252627282930313233343536373839404142434445464748StrictImport mojo2Function Main:Int()New XReturn 0EndClass X Extends AppField canvas:CanvasField img:ImageMethod OnCreate:Int()SetUpdateRate(60)SetDeviceWindow(320, 240, 2|4)canvas = New Canvasimg = Image.Load("bg.png", 0, 0, Image.Filter)canvas.SetAmbientLight(0.2, 0.2, 0.2)Return 0EndMethod OnUpdate:Int()If KeyHit(KEY_ESCAPE) Then OnClose()Return 0EndMethod OnRender:Int()canvas.Clearcanvas.SetLightType(0, 1)canvas.SetLightColor(0, 0.5, 0.5, 0.5)canvas.SetLightPosition(0, MouseX(), MouseY(), -50)canvas.SetLightRange(0, 200)For Local y:Int = 0 Until 480 Step 128For Local x:Int = 0 Until 640 Step 128canvas.DrawImage(img, x, y)NextNextcanvas.Flush()Return 0EndEndFor me it works with Cerberus-X when I change the path to just “bg.png” (instead of “monkey://data/bg.png”) with the following file structure:
12345FILE app.cxs ← main applicationDIR app.dataFILE bg.png ← color textureFILE bg_NORMALS.png ← the notmal mapFILE bg_SPECULAR.png ← specular mapWow – that was fast!
I already tried it and it works like a charm:
Monkey12345678910111213141516171819202122232425262728293031323334353637383940414243#Import "<std>"#Import "<zlib>"Function Main:Void()' generate some random dataLocal originalData := New std.memory.DataBuffer(8000)For Local i:UInt = 0 Until originalData.LengthoriginalData.PokeUByte(i, std.random.Rnd(5))End' get max compressed length (this can be more than original data size)Local maxCompressedLen := zlib.compressBound(originalData.Length)' create buffer for compressed dataLocal compressedData:std.memory.DataBuffer = New std.memory.DataBuffer(maxCompressedLen)' compress dataLocal compressedLen:ULong = maxCompressedLenIf zlib.compress( compressedData.Data,Cast<zlib.z_uLong Ptr>(Varptr(compressedLen)),originalData.Data,originalData.Length ) <> zlib.Z_OK ThenPrint( "Compressing: Something went wrong!" )ReturnEndPrint("Compressed data length: "+compressedLen+" Byte")' create buffer for uncompressed dataLocal uncompressedData := New std.memory.DataBuffer(originalData.Length)' uncompress dataLocal uncompressedLen:ULong = originalData.LengthIf zlib.uncompress(uncompressedData.Data,Cast<zlib.z_uLong Ptr>(Varptr(uncompressedLen)),compressedData.Data,compressedData.Length) <> zlib.Z_OK ThenPrint("Uncompressing: Something went wrong")ReturnEnd' success!Print("Uncompressed all data successfully!")EndI uploaded the crt module and my video module (which uses monkeys theora module) to GitHub:
crt module:
https://github.com/PixelPaladin/mx2-crtsimplevideo module:
https://github.com/PixelPaladin/mx2-simplevideoBoth are licensed under the MIT license (I hope that is okay).
Okay, now everything should work out of the box with the current version of mojo. I also added a small example application where you can play around with some parameters. All parameters can now be changed on the fly (brightness, contrast, gamma … even the virtual resolution).
https://www.dropbox.com/s/pvv6l8hqwsth2vm/crt.zip?dl=0
Everything should be okay. My code works now (will upload it when it is ready). My mistake was that I used an old makefile which used an older version of mx2cc. Some variable names in the shaders are now different.
By the way – I am really happy with the way mojo handles shaders now.
@therevills: no, sorry. I updated my monkey2 to the newest version and now my code crashes, too. I will try to fix that. Seems like the shader stuff has changed a lot in the last months …
Any pointers on how exactly I’d make it happen?
The idea behind the multi pass approach is to blur in one direction first (let’s say in x direction) and in the next pass blur in the other direction (y). This reduces running time from O(n²) to O(n). In mojo you could render into different images using multiple canvases (I am not sure how efficient this is – maybe there is a better solution to this). To get a soft blur a gauss kernel is often used. It can be statically included into the shader as an array or it can be passed to the shader as a texture. However I cannot figure out how pass stuff to the shader in monkey2’s mojo (everything I tried just crashed my program).
I didn’t get that part. Can’t you pass values using methods like Image.Material.SetFloat?
That was what I thought – but I have no idea how to do this. Is there any documentation or a tutorial to this? Let’s say I have a uniform float foo in my shader. What do I need to do to set the value of foo in my monkey source?
Edit: I figured out, how it works … fixing everything right now.
So you used a single-pass approach. Multi-pass would be faster, but if you get 60 fps on Intel graphics it should be absolutely okay (I wanted to implement it but I was too lazy
 )
)Somehow my biggest problem with monkey2’s mojo is that I cannot pass values to shaders. I really don’t like that. The only possibility to pass values to a shader seems to be encoding them into a hidden area of the source image … which seems odd to me.
@ethernaut: That looks nice! I like the glow effect. How did you implement it?
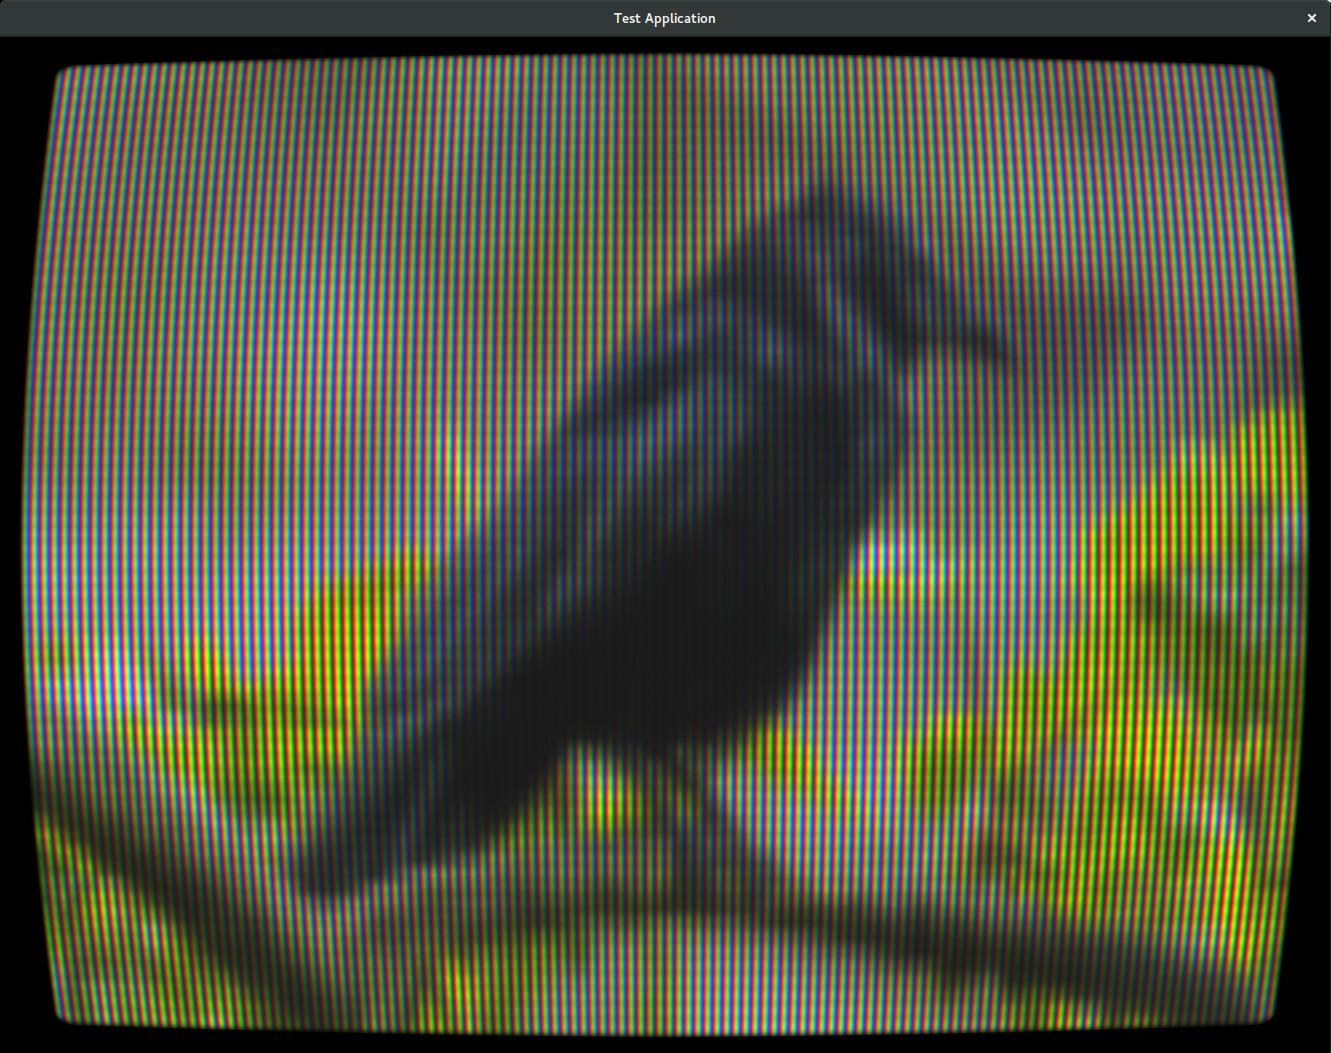
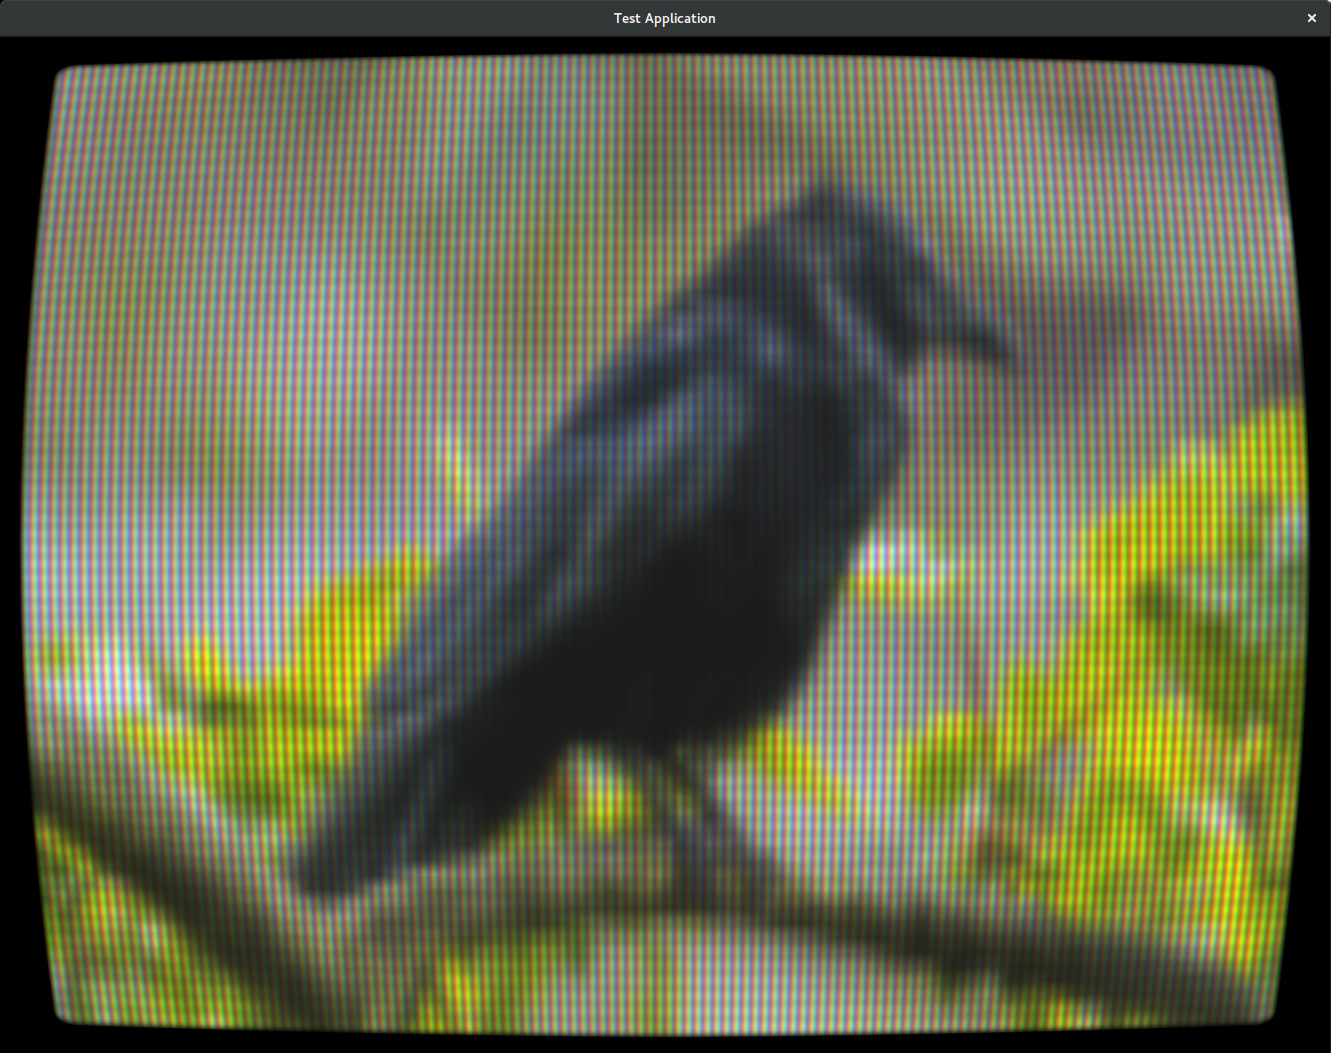
I changed some parameters. The image is now less distorted (but in the corners some pixels are not visible anymore). It is now also possible to set the intensity for rgb splitting (the vertical lines) as well as the intensity of the scan lines (the horizontal lines):
Monkey1New GraphicsCRT(width:UInt, height:UInt, rgbSplitIntensity:Float=0.5, scanlineIntensity:Float=0.1))Attachments:
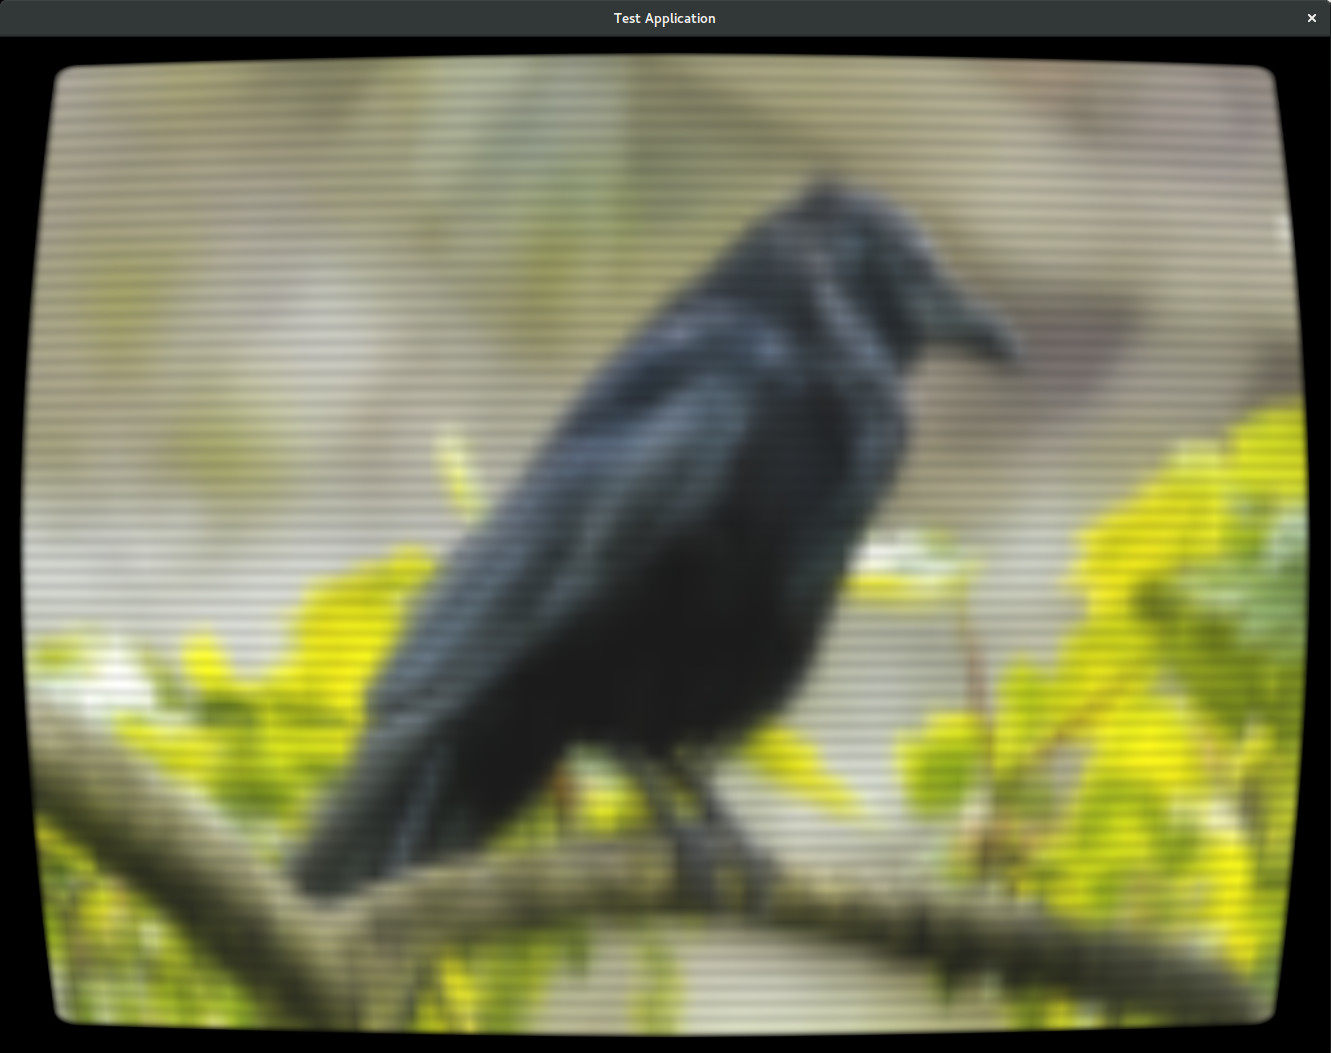
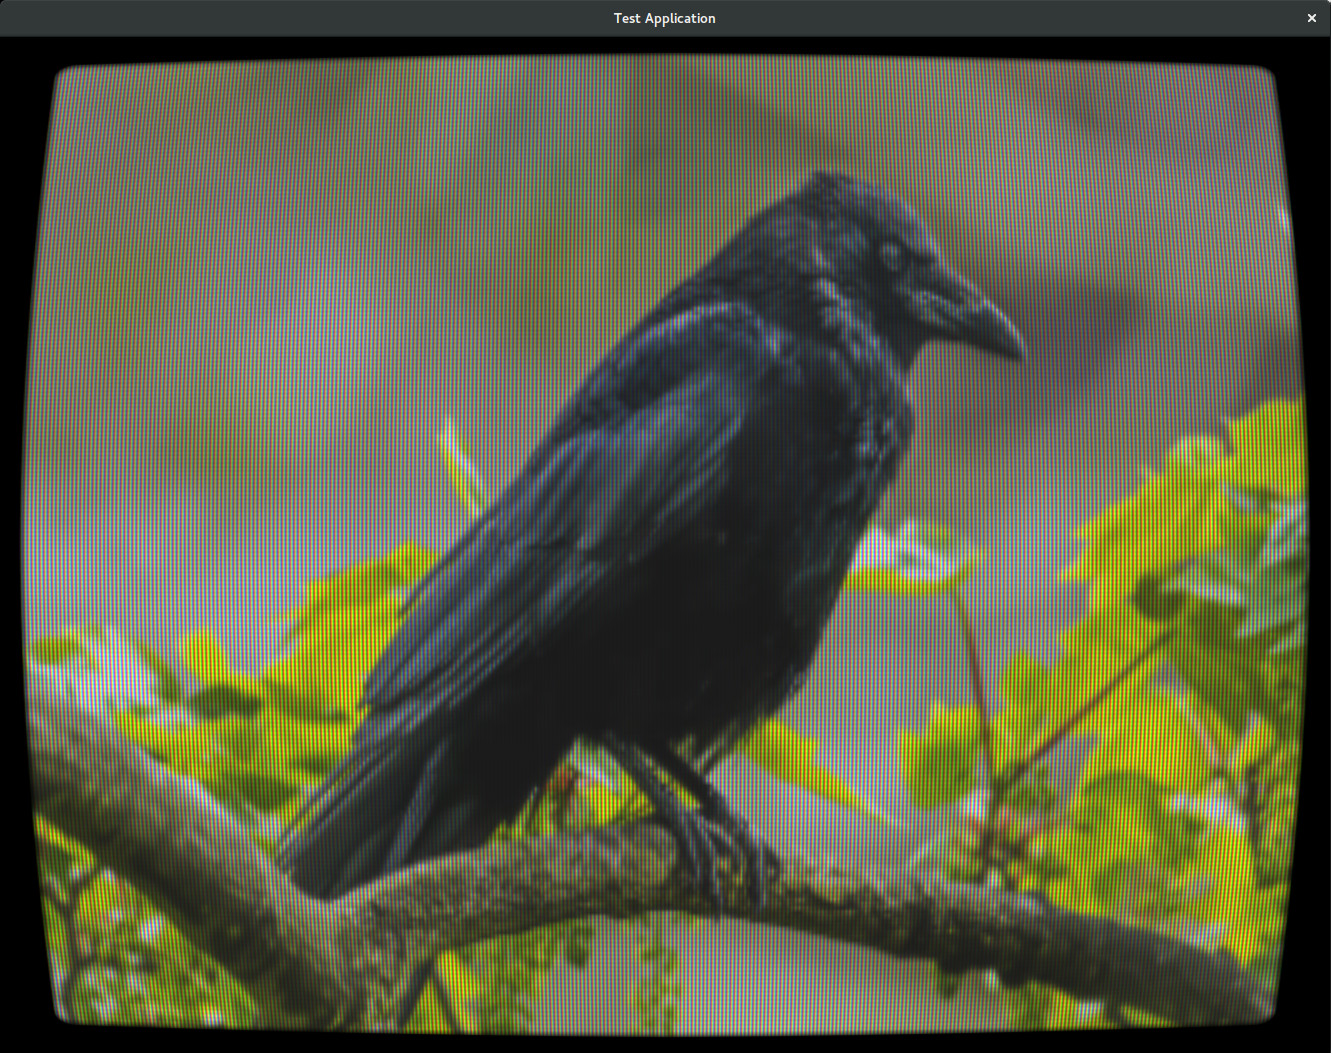
Okay, I wrote a small crt module.
Get it here:
https://www.dropbox.com/s/pvv6l8hqwsth2vm/crt.zip?dl=0Some example code:
Monkey12345678910111213141516171819202122232425262728293031323334353637383940414243444546474849505152535455565758Namespace application#Import "<std>"#Import "<mojo>"#Import "<crt>"#import "assets/"Using std..Using mojo..Using crt..Class AppWindow Extends WindowField crt:GraphicsCRTField testImage:ImageMethod New(title:String, width:Int, height:Int)'Call super class constructor - this just passes the arguments 'up' to the Window class constructor.Super.New(title, width, height, WindowFlags.Resizable)' initialize crt screen (width, heightn, rgb-split-intensity)crt = New GraphicsCRT(320, 240, 0.75)Layout = "resize"ClearColor = New Color(0.0, 0.2, 0.4)Style.BackgroundColor = Color.BlackSwapInterval = 1EndMethod OnRender(canvas:Canvas) OverrideIf Keyboard.KeyReleased(Key.Escape) Then App.Terminate()App.RequestRender()' get crt canvas:Local crtCanvas:Canvas = crt.Canvas' render some stuff on crt screen:crtCanvas.Clear(Color.Black)crtCanvas.BlendMode = BlendMode.AlphacrtCanvas.Color = Color.WhitecrtCanvas.DrawText("Move Mouse", 5, 5)crtCanvas.BlendMode = BlendMode.AdditivecrtCanvas.Color = New Color(Float(Mouse.X)/Width, Float(Mouse.Y)/Height, 0.0)crtCanvas.DrawCircle(Float(Width-Mouse.X)*Float(crt.Resolution.x)/Width, Float(Height-Mouse.Y)*Float(crt.Resolution.y)/Height, 50)crtCanvas.Color = New Color(1.0-Float(Mouse.X)/Width, 1.0-Float(Mouse.Y)/Height, 1.0)crtCanvas.DrawCircle(Mouse.X*crt.Resolution.x/Width, Mouse.Y*crt.Resolution.y/Height, 50)' draw crt screen on canvas:crt.DrawScreen(canvas, 0, 0, Width, Height)EndEndFunction Main()New AppInstanceNew AppWindow("Test Application", App.DesktopSize.x/2 ,App.DesktopSize.y/2)App.Run()End(only resolutions between 128×64 and 800×600 are allowed)
-
AuthorPosts